
Connect your first account and create your first rule
You just signed up. This guide takes you from an empty account to one live automation: connect a Page, build a Workflow (an automation that watches your comments), and confirm it acted on a comment. It takes a few minutes.
Automations in the product are called Workflows. A Workflow contains one or more branches; each branch has conditions (the tests a comment must pass) and actions (what happens when it passes).
Before you begin
Section titled “Before you begin”You need three things:
- A Meta account with a Page you can manage. You connect by signing in with Facebook. To connect an Instagram account, it must be a Business or Creator account.
- An active plan. A connected account and a Workflow both require an active 10-day free trial or a paid plan. Without an active subscription, connecting an account and creating a Workflow are blocked.
- A few minutes. No card is required to start the trial’s preview.
Step 1: Connect a Facebook or Instagram Page
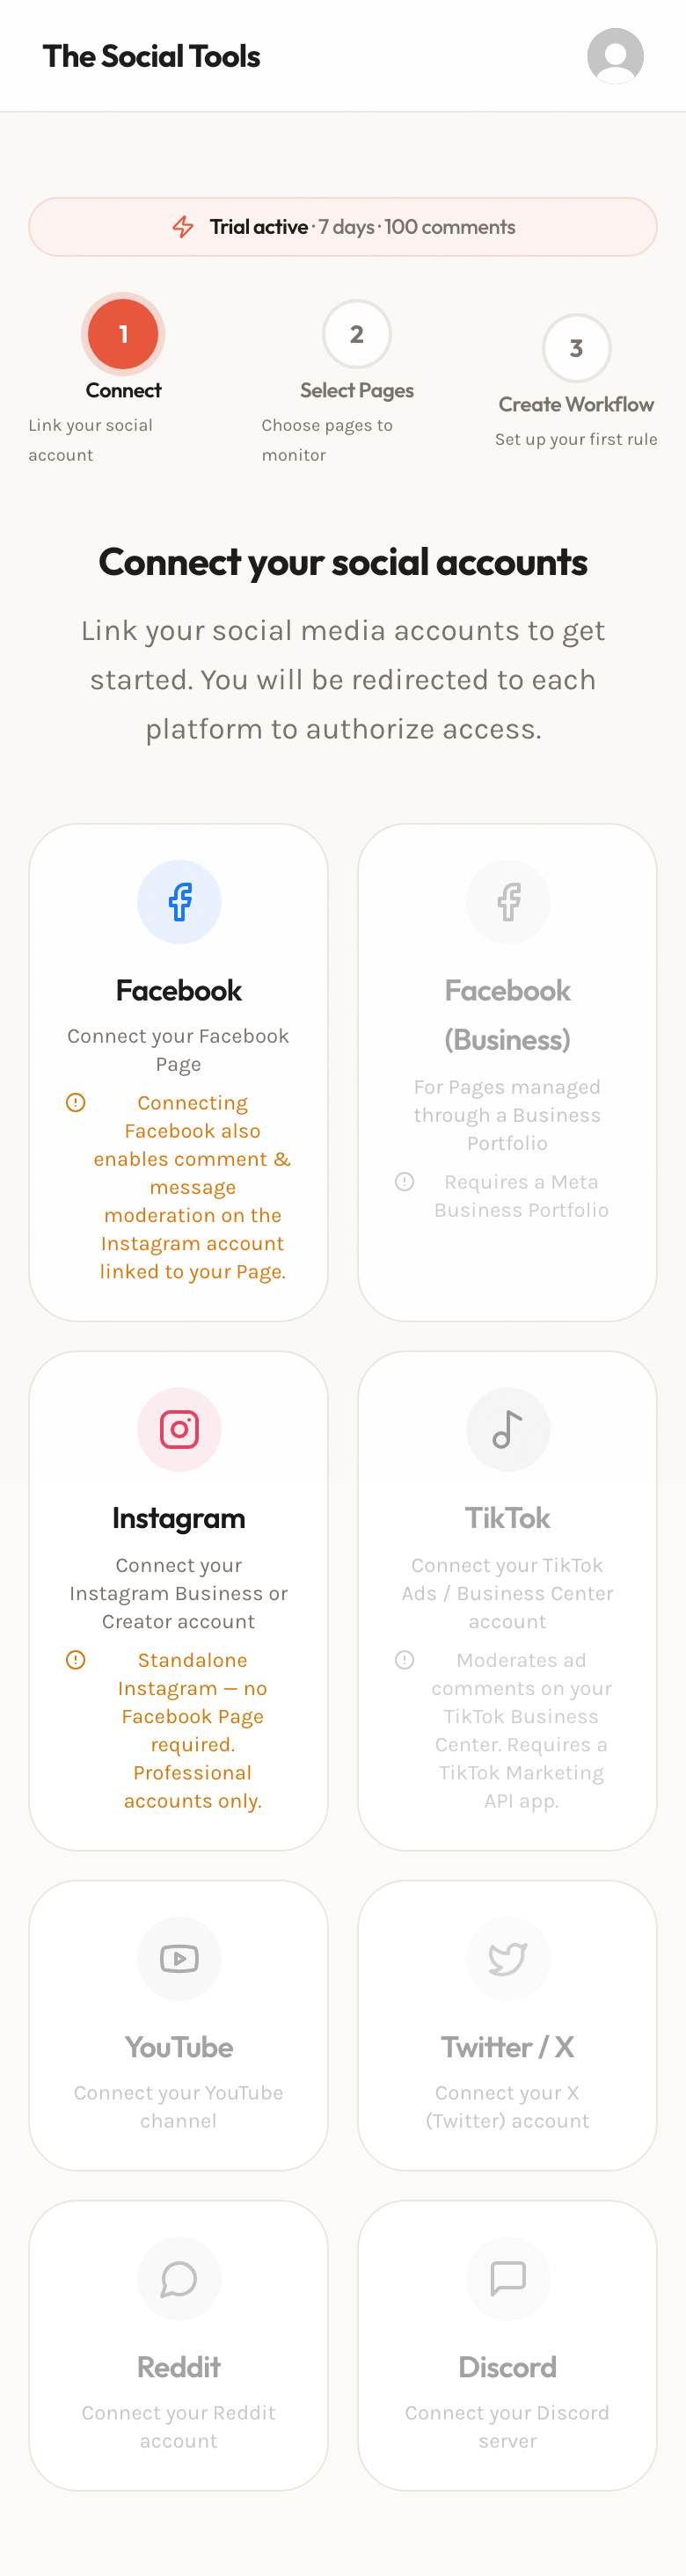
Section titled “Step 1: Connect a Facebook or Instagram Page”New accounts open the onboarding wizard at step 1, Connect your Facebook Page. Pick one platform now — you can add the other later.
- On the connect screen, click the Facebook or Instagram card.
- Sign in with Meta and grant the requested permissions. The button shows Connecting… while it redirects.
- On Choose pages to monitor, select the Page you want the product to watch, then continue.
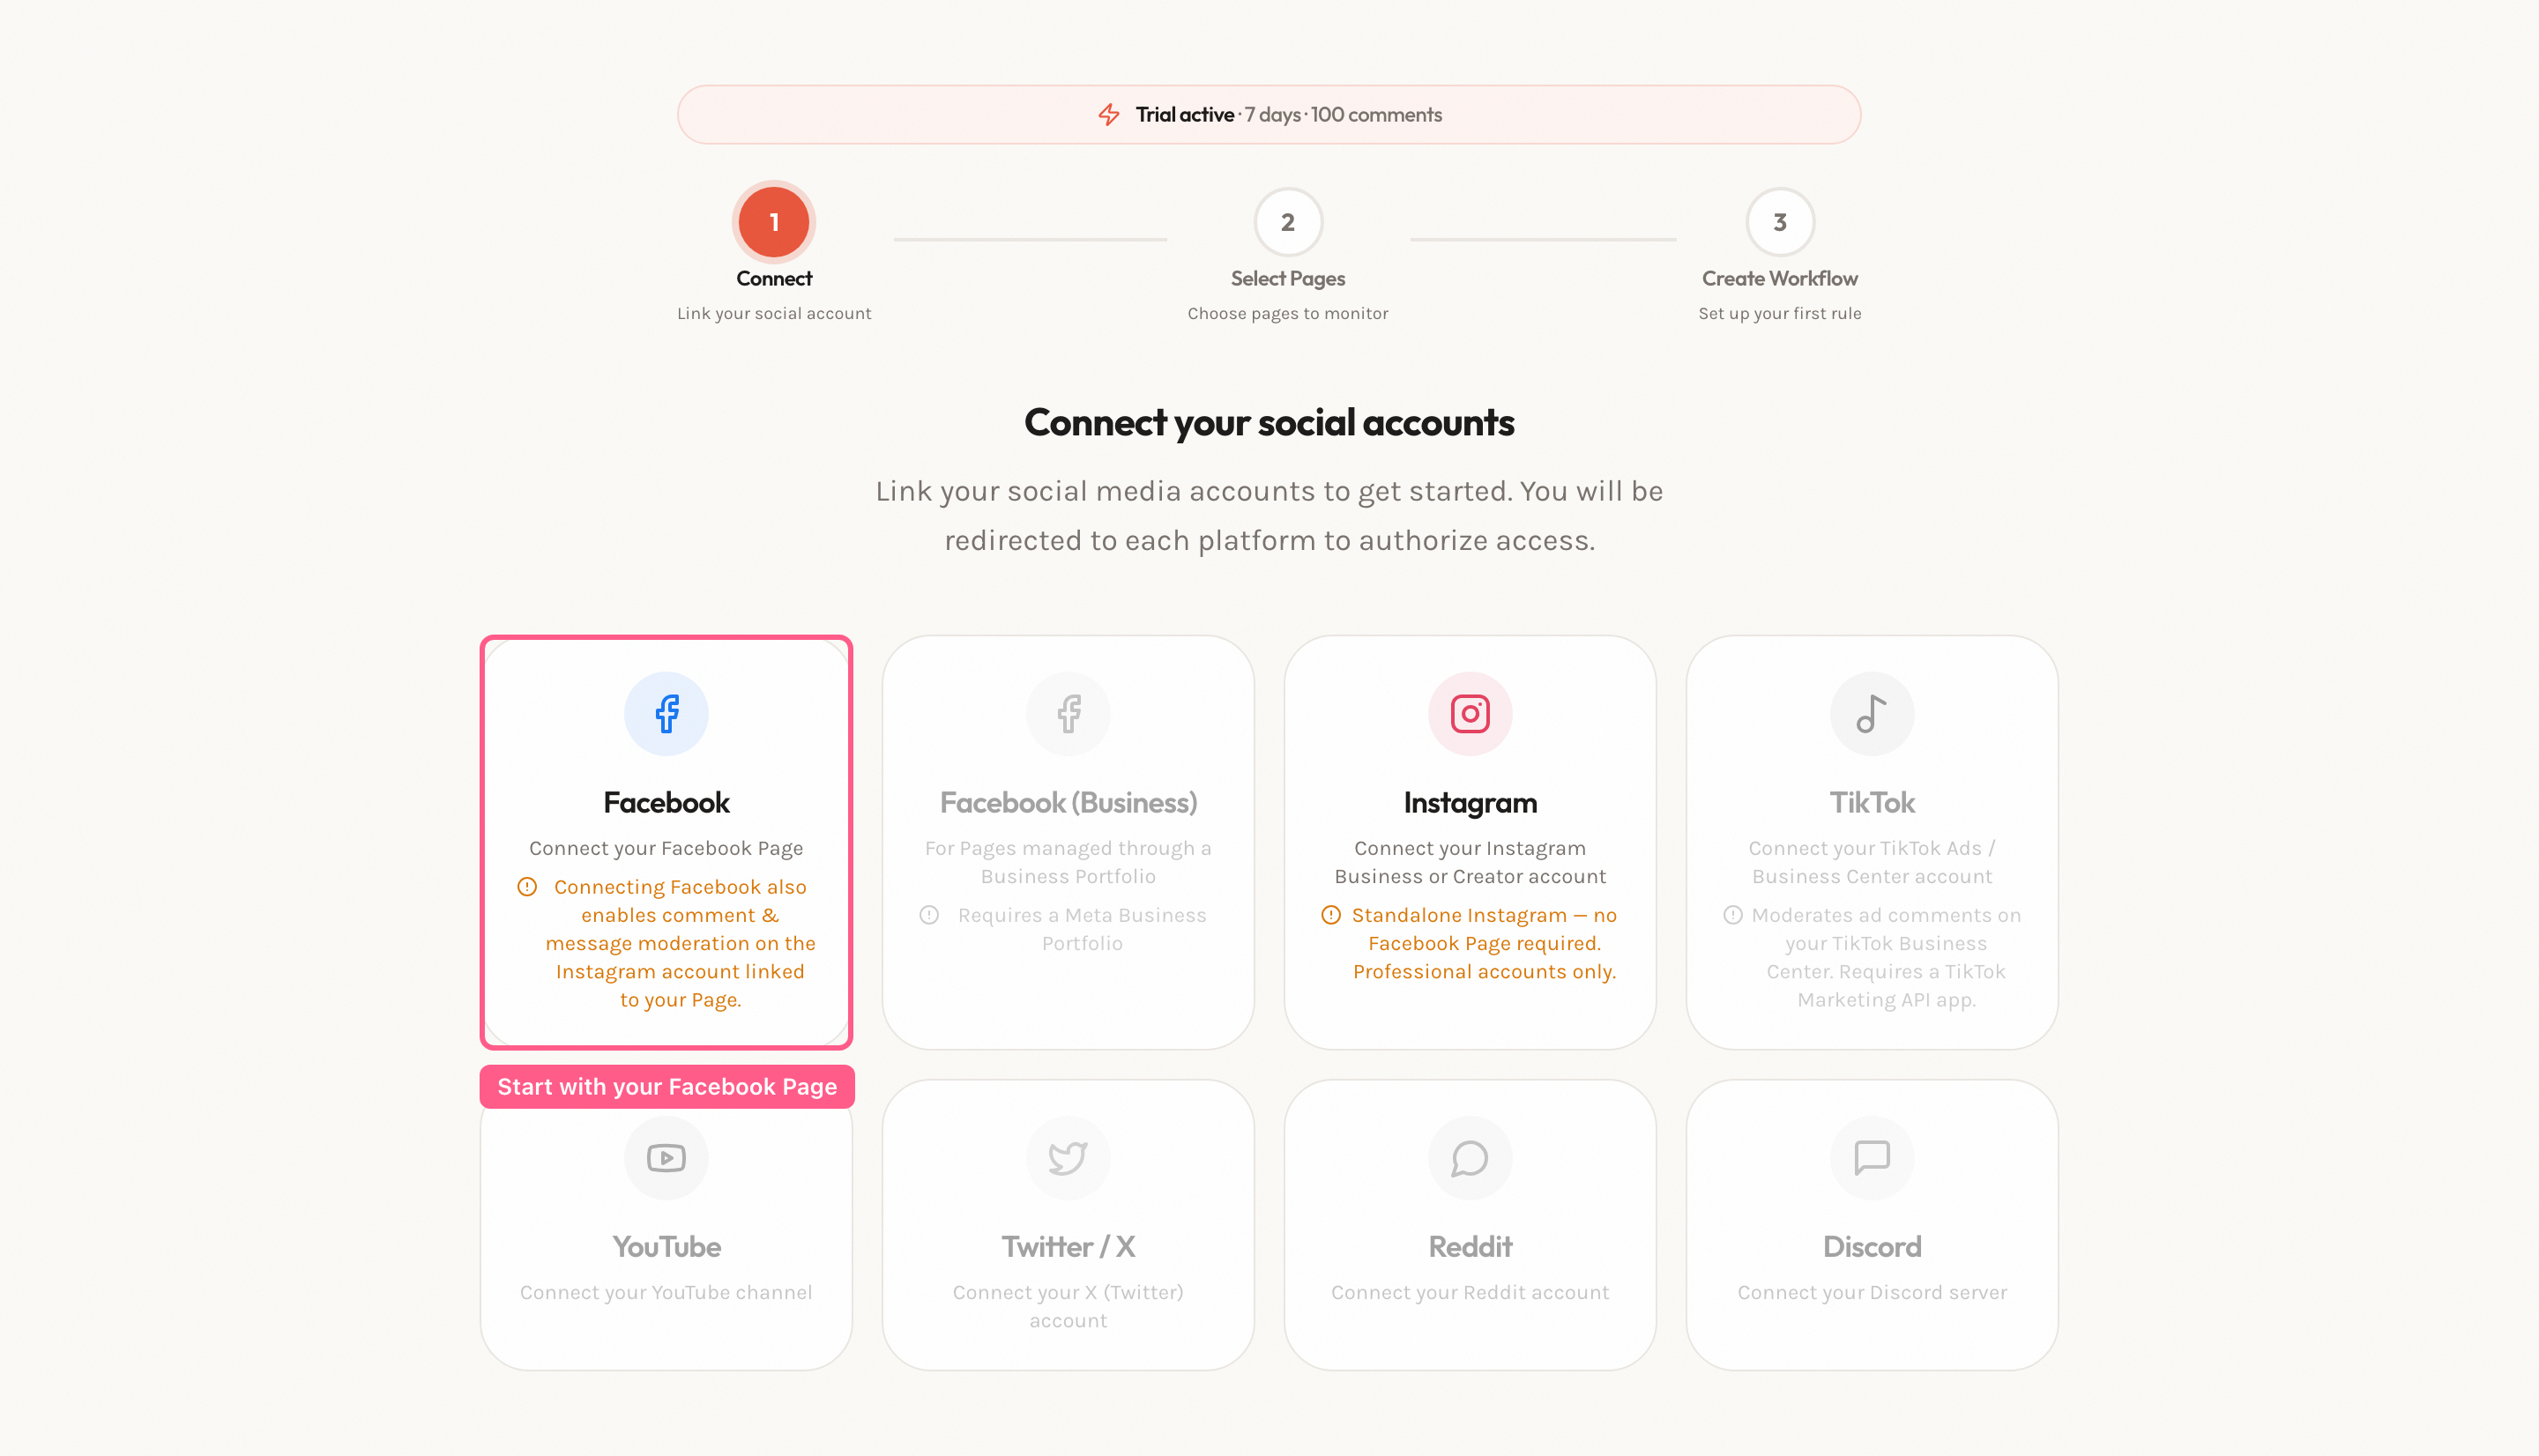
That is the happy path. For the full permission list, standalone vs. Facebook-linked Instagram, and reconnecting, see the platform guides:
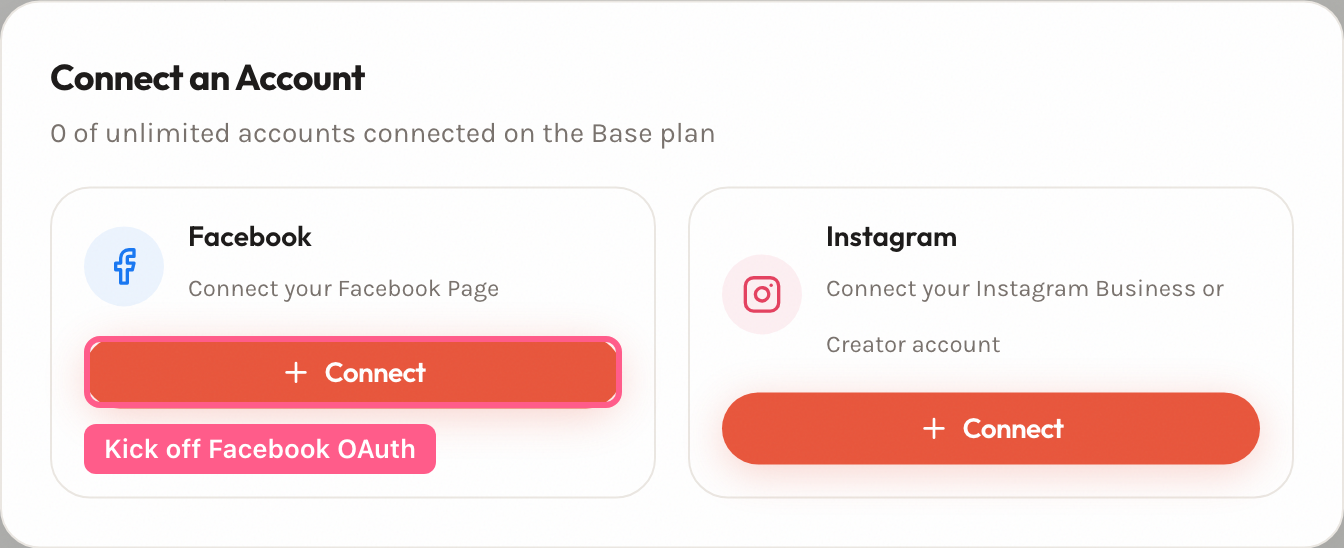
You can also connect later from Accounts — click Add Platform to open the Connect an Account modal.
Step 2: Create your first Workflow
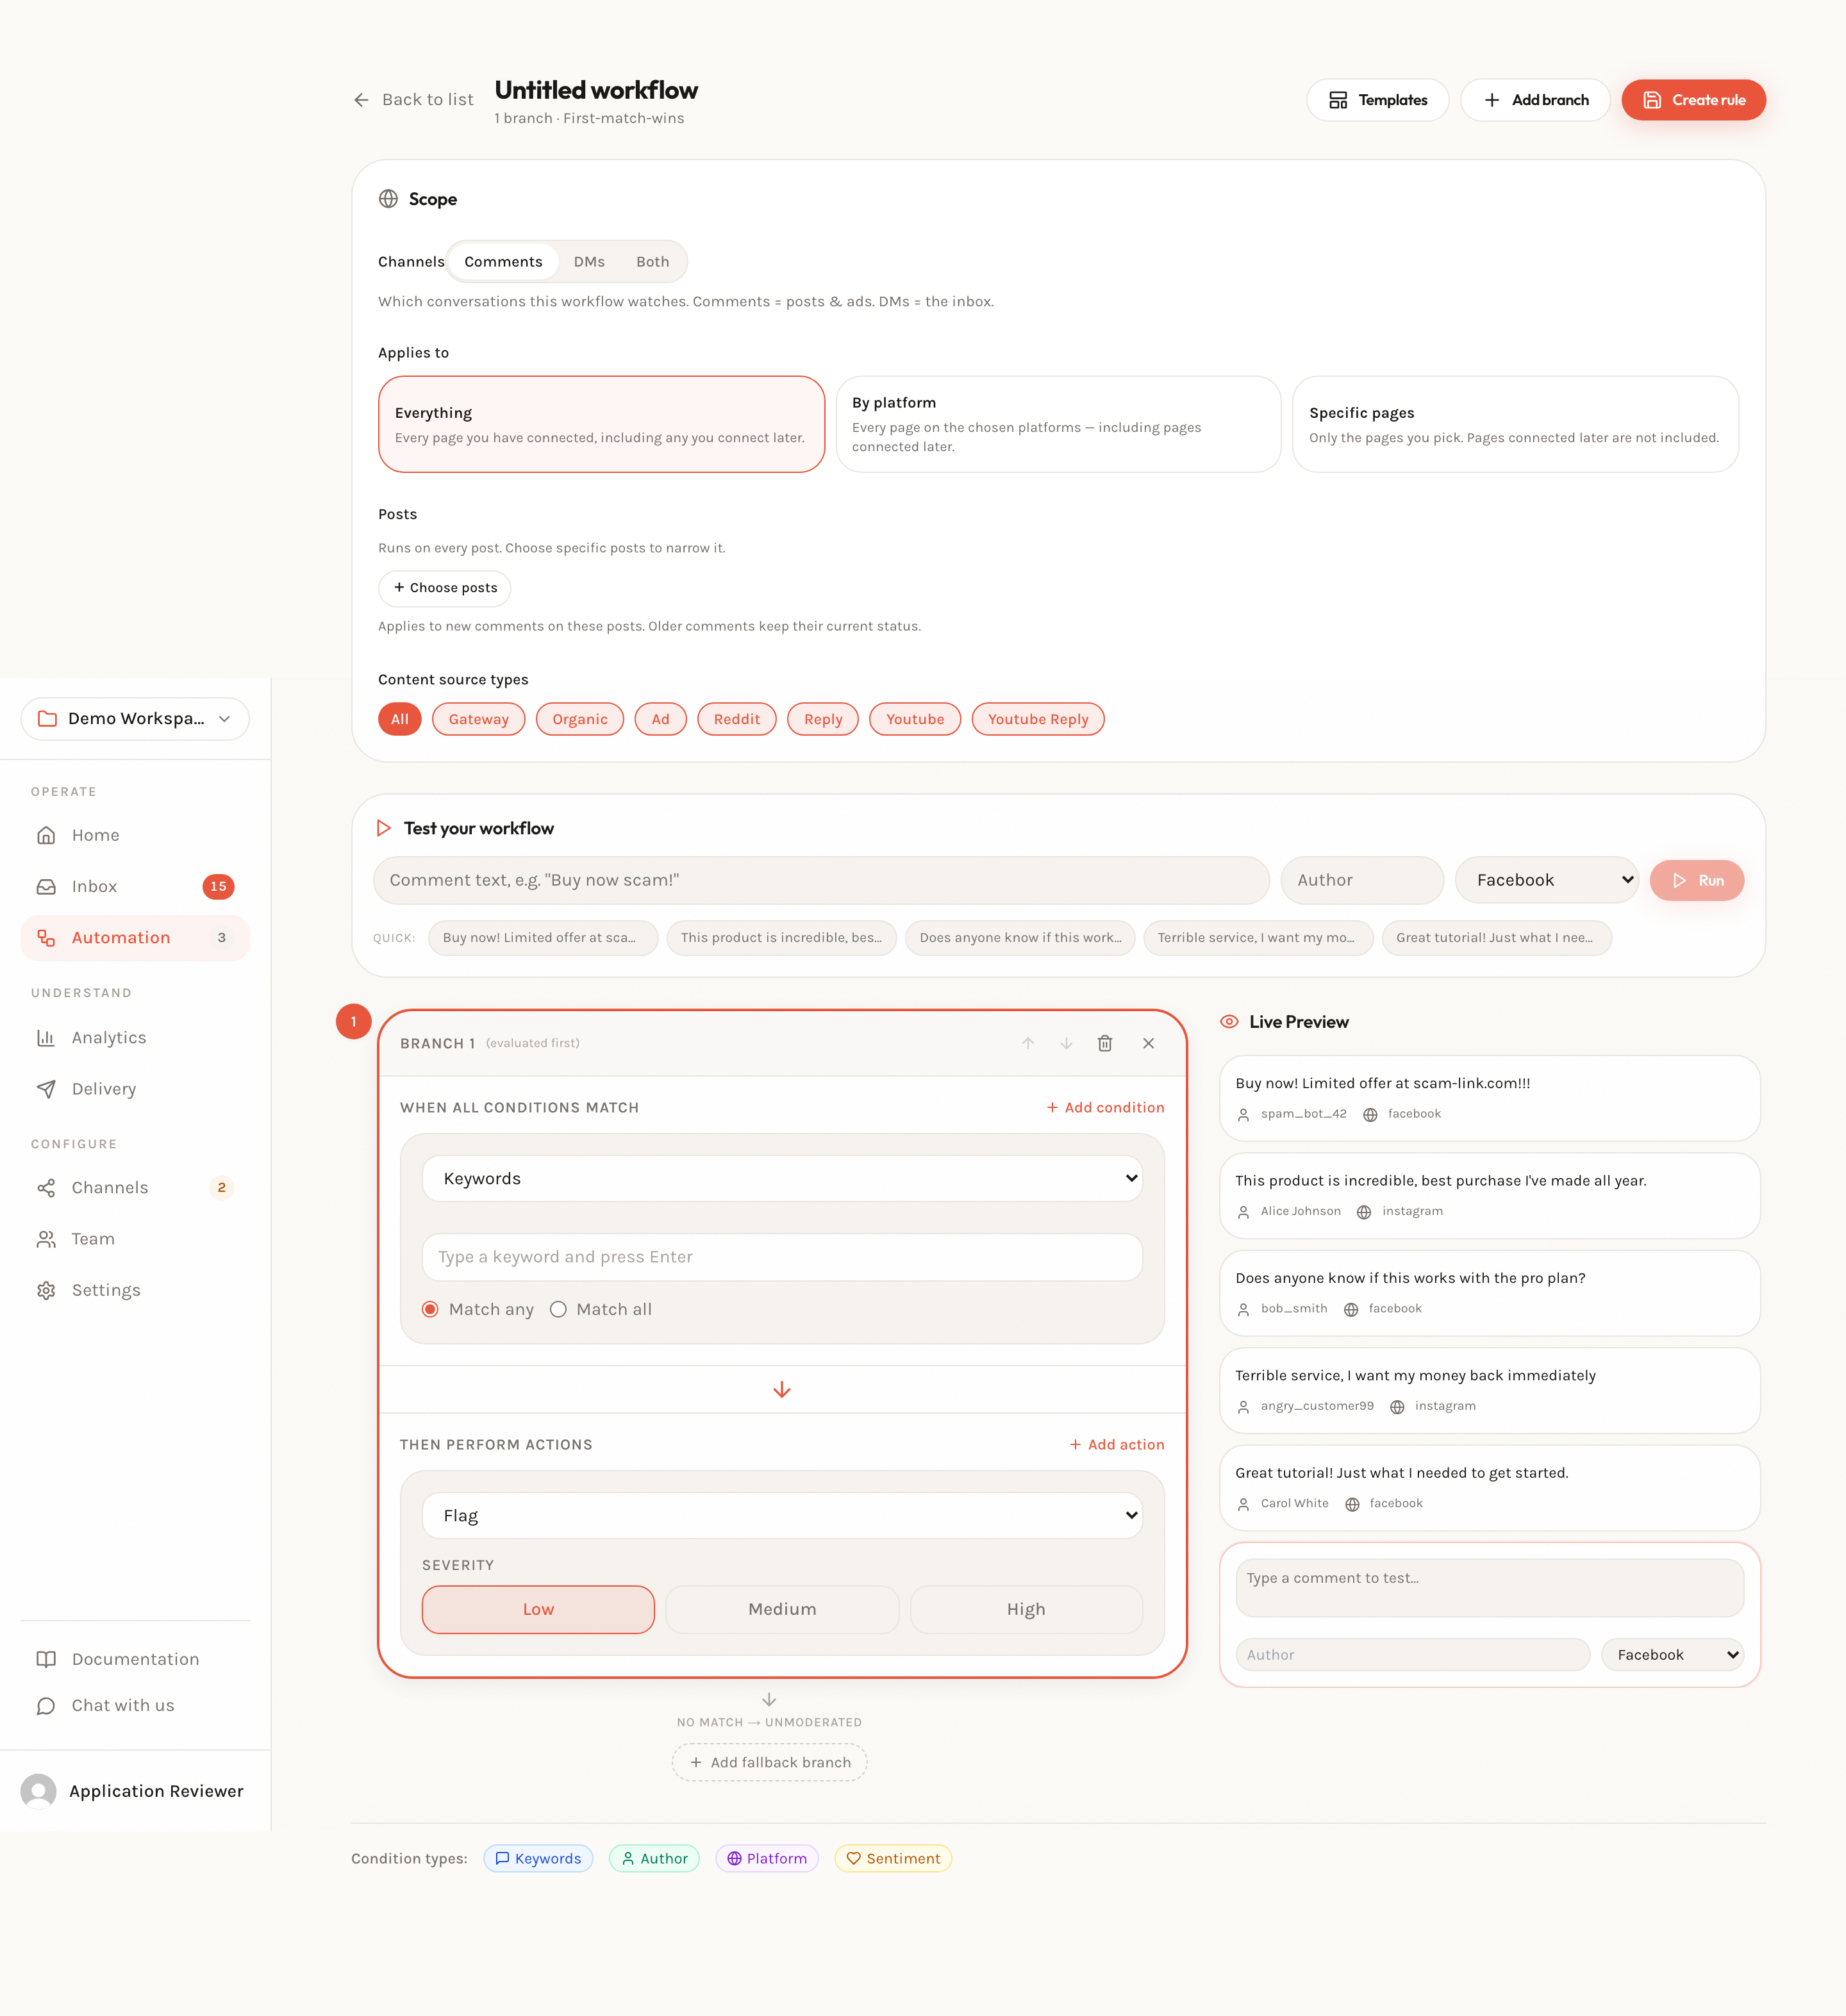
Section titled “Step 2: Create your first Workflow”A good starter Workflow hides comments that contain a keyword. Open Workflows and click New workflow to open the editor, then add one branch.
Add a condition
Section titled “Add a condition”- In the branch, set the Condition type dropdown to Keywords.
- In the keyword box, type a word (for example
giveaway) and press Enter. Add more words the same way — each becomes a chip. - Leave the match mode on Match any so the branch matches when a comment contains at least one of your keywords.
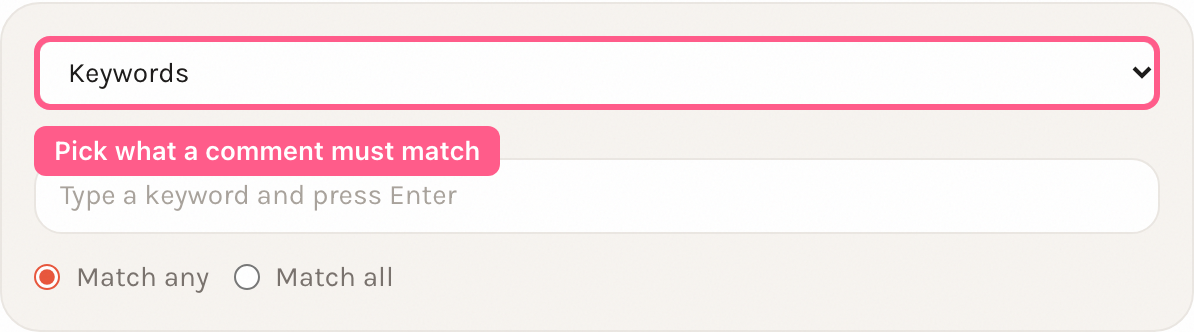
Keyword matching is case-insensitive and matches on partial text (a substring), not whole words — so free also matches freebie. For the full condition reference, see Conditions.
Add an action
Section titled “Add an action”To hide a matching comment, use the Flag action.
- Set the Action type dropdown to Flag.
- Choose a Severity — low, medium, or high.
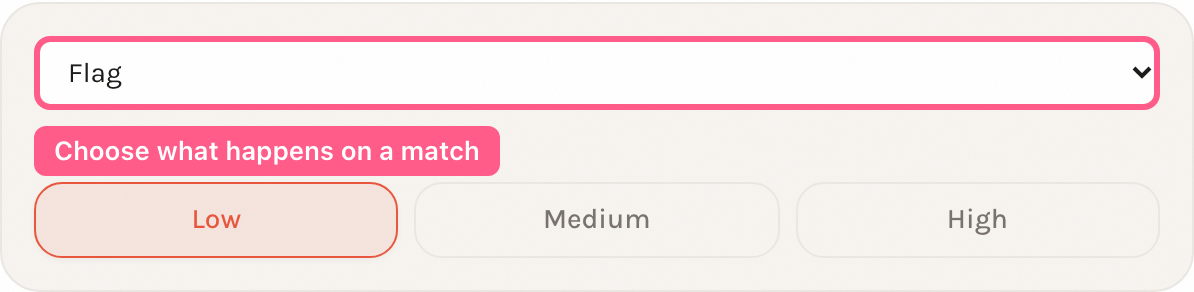
Here is how your starter branch reads against a real comment:
The comment contains both keywords, so the branch matches and Flag hides it on the Page and sends a push. Set the comment to Allow later to un-hide it.
Turn the Workflow on
Section titled “Turn the Workflow on”Save the Workflow and make sure it is enabled — a disabled Workflow never fires, and an observe-only Workflow records what it would do without touching the comment on Meta.
Step 3: Confirm it fired in the Audit Log
Section titled “Step 3: Confirm it fired in the Audit Log”Once a comment that matches your keyword arrives, the product evaluates it within seconds and, if the branch matches, hides it on the Page shortly after. To confirm it happened, open Analytics → Audit Log.
- Go to Analytics. The Audit Log tab is open by default.
- Look for a row referencing your Workflow. The comment carries an automation chip showing the Workflow name and the action it took (for example, Flag).
What to do next
Section titled “What to do next”- Refine the branch. Add more keywords, or switch the match mode to Match all so every keyword must be present. See Conditions.
- Try other actions. Beyond Flag, branches can Allow, Reply, and more. See Actions.
- Learn the evaluation order. Workflows fire in priority order, and only the first matching Workflow acts on a comment. See How workflows work.
Check out my page for a FREE iPhone giveaway!!!